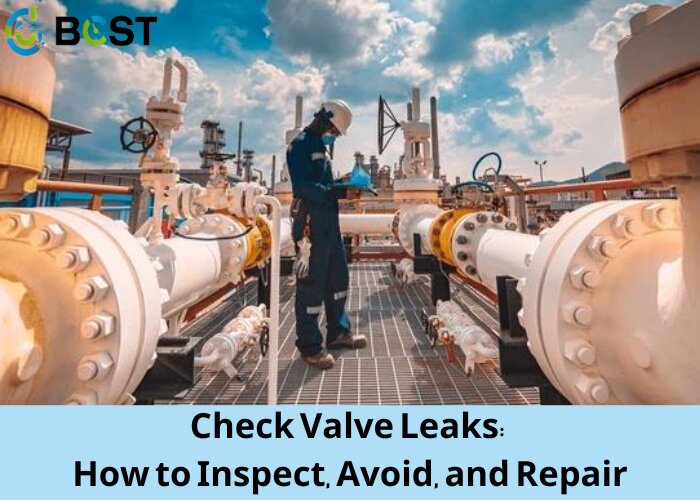
Check valves are essential components in many industrial, plumbing, and hydraulic systems, ensuring that fluids flow in one direction while preventing backflow. However, even the most reliable check valves can experience leaks over time, leading to inefficiencies, increased maintenance costs, and potential safety hazards. In this blog post, we will explore the world of check valve leaks, offering insights into how to inspect these crucial devices, ways to avoid leaks, and methods for repairing them when necessary.
A check valve’s functionality is critical in maintaining the integrity of fluid systems, and understanding how to address potential leaks is essential for smooth operation and cost-effective maintenance. Whether you’re a professional in the field or a homeowner with check valves in your plumbing system, this guide will provide valuable information to help you ensure that your systems function optimally and remain leak-free. Let’s dive into the world of check valve leaks and discover how to inspect, avoid, and repair them effectively.
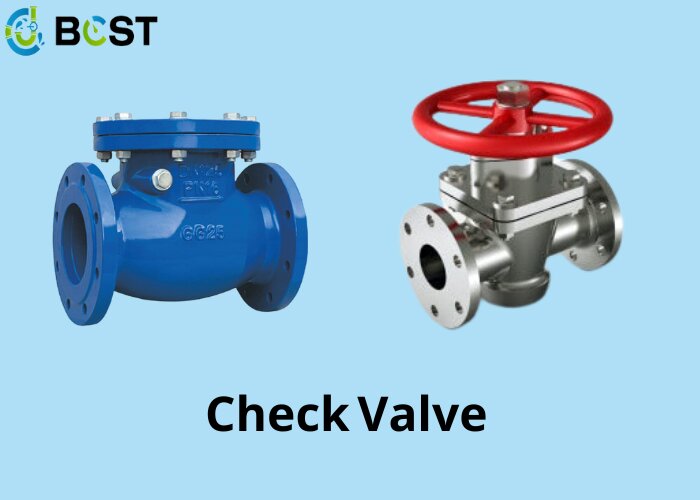
A check valve only enables media to flow in one direction. This valve functions automatically and does not require any human intervention. Cracking pressure is the notion that explains this. Every check valve has an upstream pressure requirement that must be met in order for the valve to open and enable media to flow past it. When the upstream pressure falls below the cracking pressure, the check valve closes, stopping downstream media from flowing backward. A precise cracking pressure can be established for checking valves.
Inspecting Check Valve
If a check valve exhibits visible leaking signs, checking the valve is the quickest way to determine if it is leaking. As a result, if check valve leakage is probable, examining the valve should be a high priority. Before inspecting the check valve, examine the manufacturer’s product guide to see if there are any special procedures to follow. The following process is generic and may not apply to all check valve models.
- Safety: Perform a thorough inspection, then depressurize the system before proceeding with further checks. If necessary, wear personal protection equipment (PPE).
- Look for indicators of leakage, such as dampness, corrosion, and rust around the valve body and pipe connections. Keep a flashlight and an inspection mirror on hand for difficult-to-see regions.
- Touch inspection: Using a clean, dry cloth, go around the valve’s body and pipe connections. If the cloth becomes wet, the valve may leak.
- Sound inspection: Listen to the check valve operating in a quiet area if feasible. Check valves that are working normally do not make any noise. A leak can be indicated by gurgling or hissing noises.
- Soap solution test: Use the soap solution test to see if gas is running through the check valve, for example, if there’s potential for an air compressor check valve to leak. Clean the valve body and pipe connections with a soapy solution. Gas is leaking if bubbles occur in the solution.
How to Avoid Check Valve Leakage
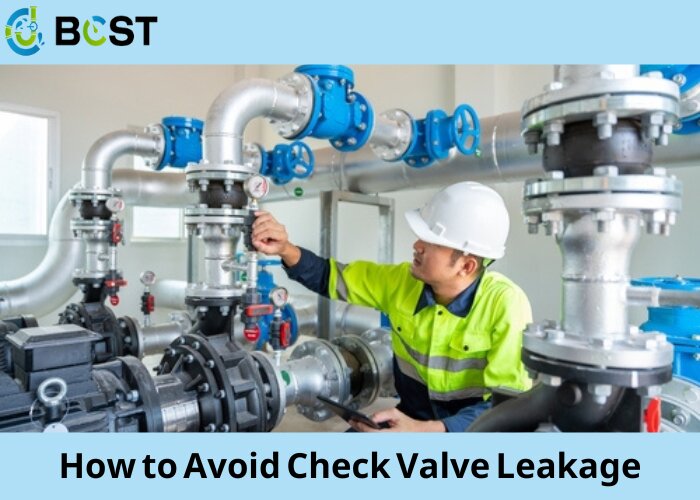
There are various strategies for avoiding or reducing the danger of check valve leaking.
- Appropriate selection: Select the appropriate check valve for the application. This includes elements such as the valve’s material compatibility with the media, pressure and temperature ratings, and the flow needs of the application. Read our chemical resistance of materials guide to help you choose the materials for your check valve.
- Routine maintenance and inspection: By following a routine, problems can be recognized before they become leaks.
- Correct installation: If a check valve is fitted incorrectly, leaks are usually unavoidable. Proper installation entails ensuring that the valve is properly aligned with the pipes and in the proper position (i.e., horizontal or vertical) and that the system flow direction matches the arrow on the valve’s body.
- Replace worn parts: The check valve’s seat and disk might wear out over time. As needed, replace them.
- Avoid excessive pressure: If the check valve is subjected to pressures greater than its rating, it may leak.
- Cleaning and debris removal: Cleaning and debris removal: If debris becomes lodged in the valve, it can damage the sealing surfaces, resulting in leaks.
- Clean the valve and ensure that the media going through it is free from debris. For example, installing a t or y filter in front of the valve can prevent debris from clogging.
Fixing a Leaking Check Valve
Whether or not to attempt to repair a leaky check valve is a matter of severity and convenience vs. expense. If the valve’s body is damaged, such as by severe rust or corrosion, the valve must be replaced. However, if only internal portions are damaged or worn, the parts can be replaced rather than the complete valve. Replacing individual components, though, can be more trouble than it’s worth for relatively inexpensive valves, such as those made primarily from PVC. More expensive check valves, such as stainless steel or huge ones, can be costly, making individual part replacement more desirable.
After reviewing the check valve’s product guide for specific instructions, follow these steps to replace the check valve components of a leaking check valve.
- Have appropriate personal protective equipment to avoid injury or contact with hazardous materials.
- Disassemble the valve to view its internal components.
- Checkthe check valve disc, seat, spring, and any other internal components. Examine the area for signs of wear, damage, or debris that could be causing the leak.
- Identify why the check valve is leaking. Is the issue an internal component, such as a faulty seal or a broken disc? Or is the issue more serious, such as valve body damage or distortion?
- Replace any internal components that are worn out or damaged. Even if the o-rings appear good, take the opportunity to replace them as well.
- Fully clean unreplaced internal components.Also, clean the inside of the valve body.
- Reassemble and reinstall the valve.
- Gradually introduce pressure into the system and test the valves.There should be no further leaks if the repair is If there are leaks, the entire valve will almost certainly need to be replaced.